A selfie in the Little Venice section of Colmar, France. When we sailed to Cartagena in order to do maintenance work and travel we didn't know
that surprise was in our future. I don't recall when my son in Germany told me
they were expecting, but it was after we were in Cartagena. So, we knew we
would need a trip to Europe close to when our new granddaughter was to be born.
Departing from Bogoota we went into some bumpy weather for awhile.
First glimpse in the morning of Spain.
Our last trip to Europe was travel to Spain in 2019 and I wanted to see more Spain and Linda
wanted to see more France. So, we decided that if we fly into Madrid, a non-stop from Bogota, and do a
road trip through Spain and France we could achieve all of our objectives. Our
new granddaughter was due in mid-April so we planned for a May trip. We had to
schedule the length and timing of our trips through South America so that we could get it
all done.
Street view of the Sagrada Familia in Barcelona We made our plans for our trip to South America that I wrote about in our
previous blog post and simultaneously we made preliminary plans to go to
Europe. Our departure to Europe became a bookend for our trip to South
America.
When we do long-distance flights we try and upgrade to Business Class. I had plenty
of frequent flyer miles on American Airlines that could be transferred to
Iberia Airline that has two or three daily non-stop flights from
Bogota to Madrid making mileage seats more available than trying to fly from a
US hub. So, using miles I booked a round-trip from Bogota to Madrid. Our plan
was to rent a car and do a road-trip through Spain and France to Germany and
then return after spending about two weeks with my son in Germany to enjoy his
new baby girl, our newest granddaughter, our 11th grandchild.
Medieval Castle Blockhouse from Esslingen
We booked our flights and went back to work on our major refit
planning. After we finished our work we did our trip to Argentina and Chile and soon the time
arrived for us to depart to Europe. I had booked tickets for us from Cartagena
to Bogota on Avianca, the local airline just to get us over the short trip to
Bogota. Not a big deal since Avianca and other airlines have flights almost
hourly from Cartagena to Bogota.
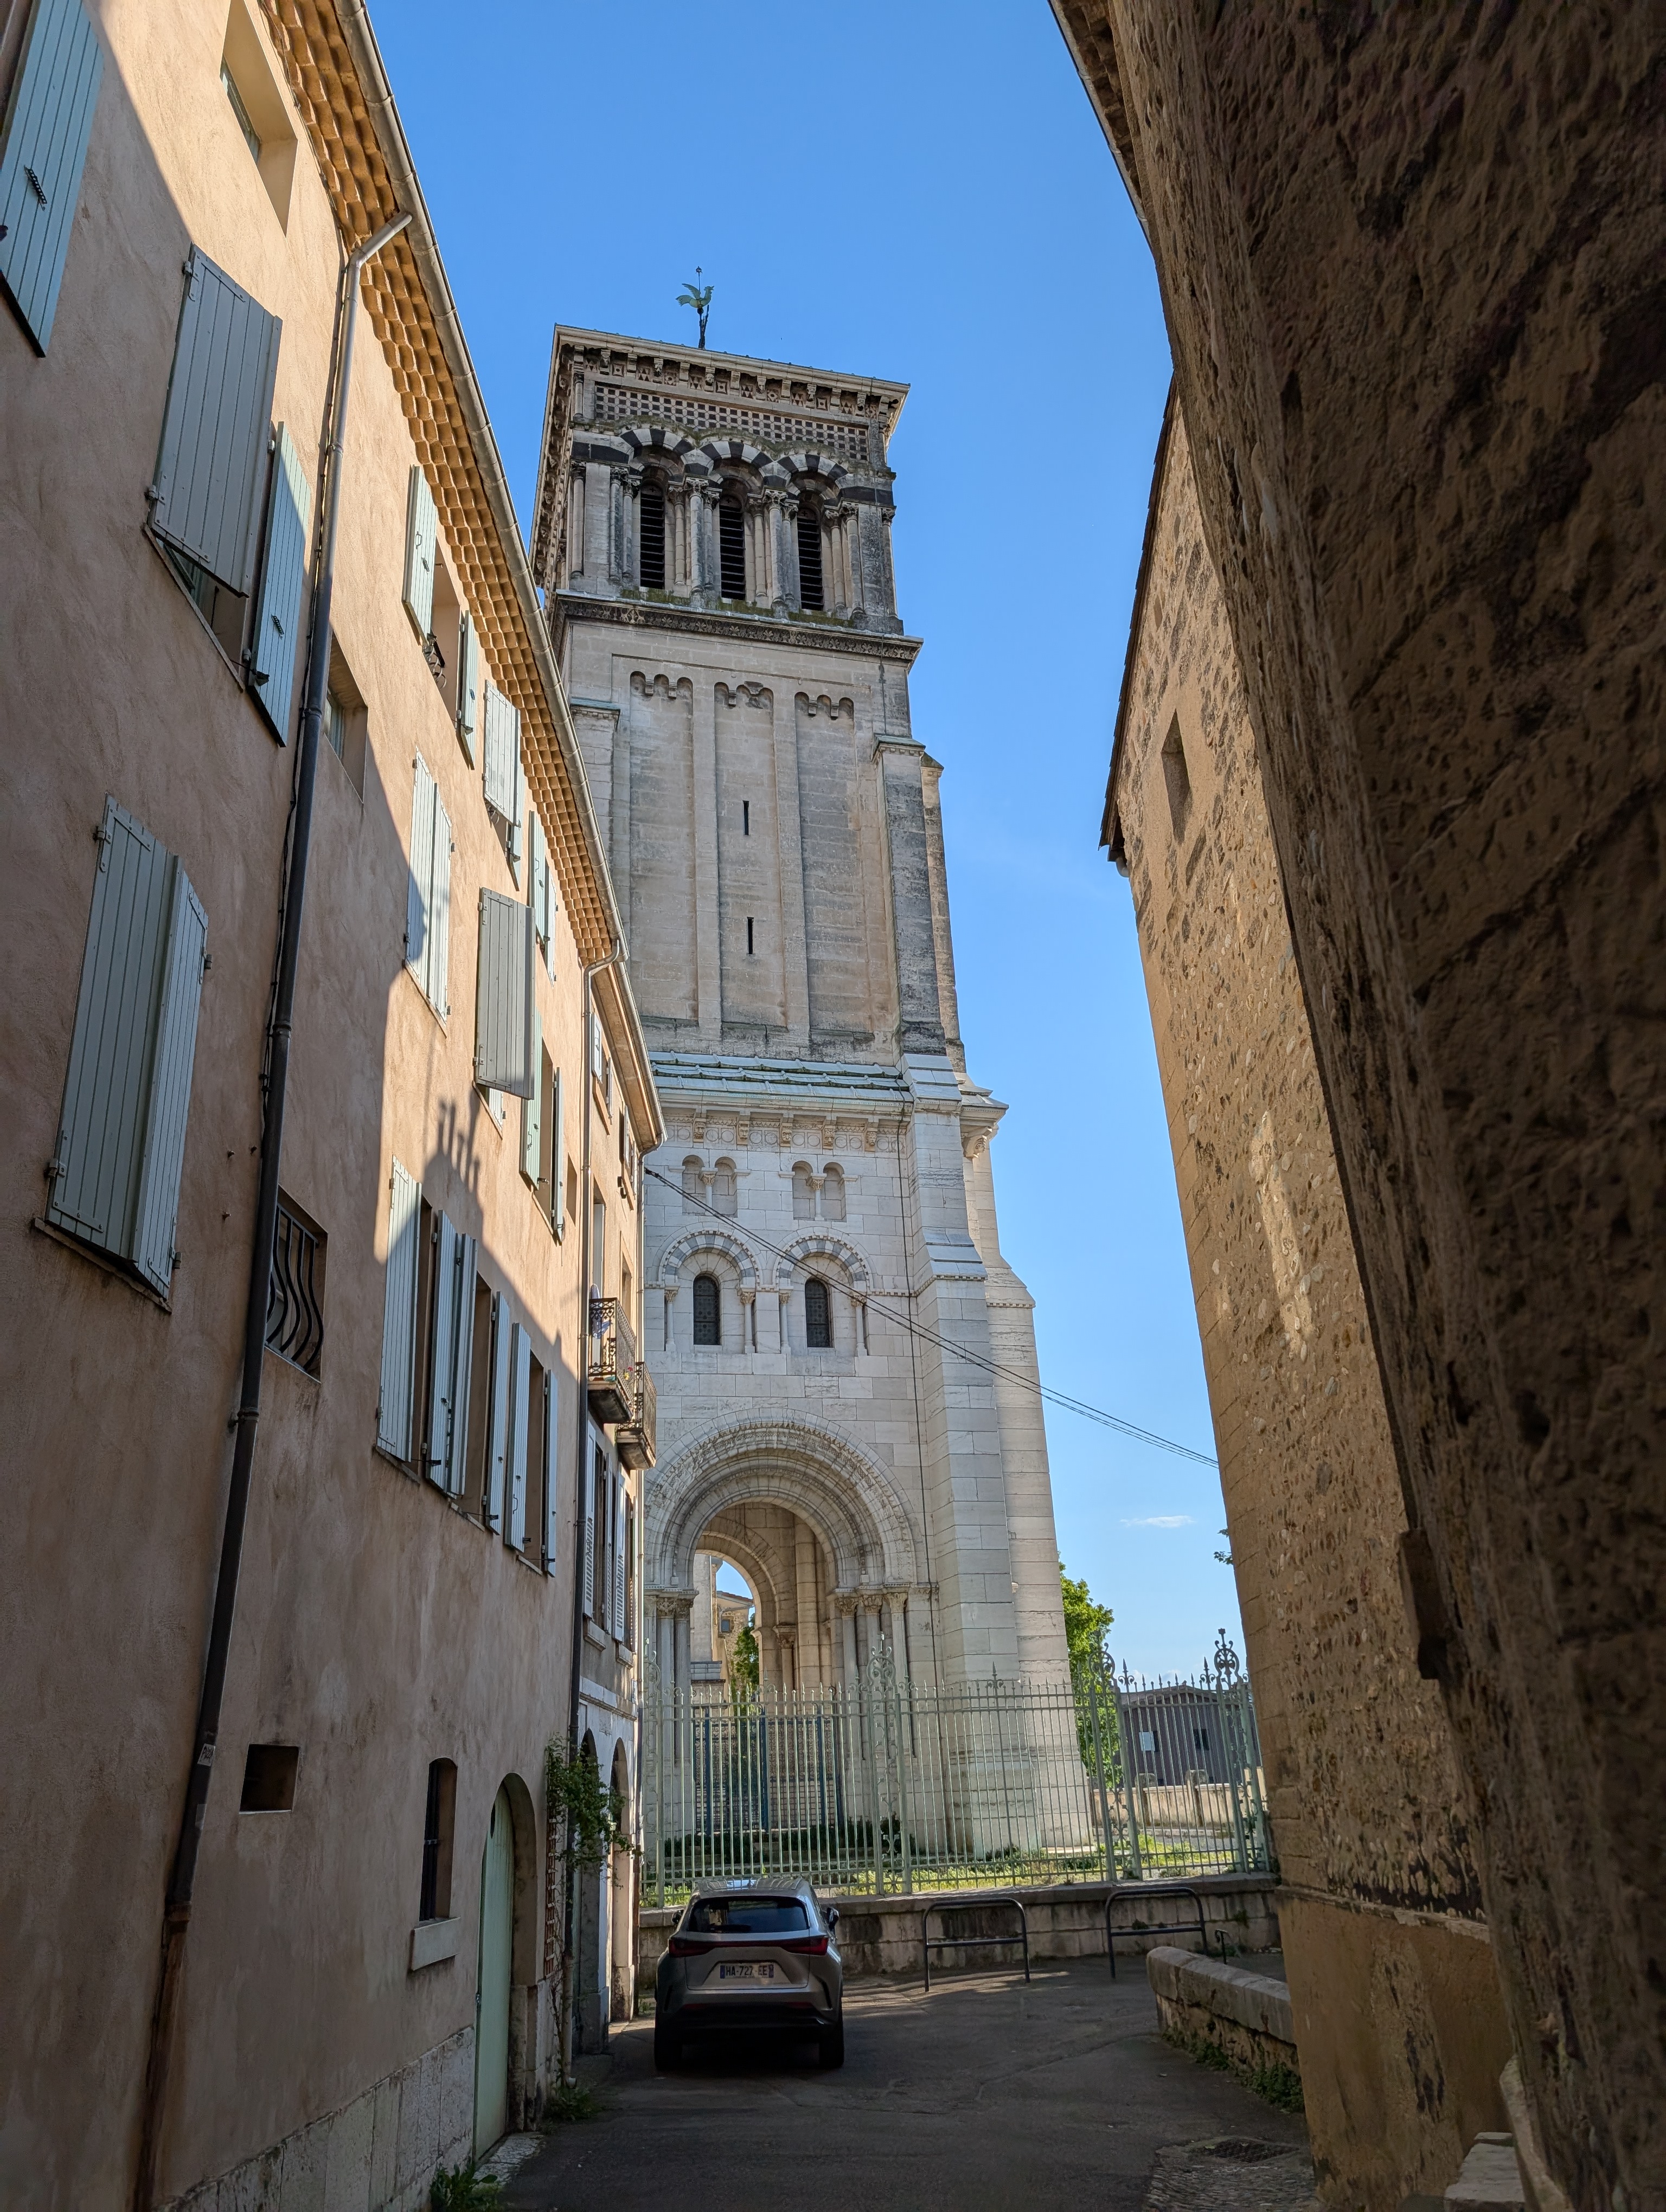
Strasbourg, France
On the 6th of May we went to the Cartagena airport and flew to Bogota.
Iberia has an arrangement with LATAM airlines that allowed us as Business Class passengers to use the Latam lounge
where we spent several hours waiting for our flight after we got to Bogota.
LATAM is another major carrier in South America. We had previously flown it
from Cartagena to Iguazu Falls and they had great service. The
lounge had great food and wine and we were adequately prepped for our overnight
flight to Madrid.
Wines from one of the many wine tastings.
Our fight was enjoyable but the hours flew by (no pun intended). I set my
times to arrival times so I could begin to think in the new time zone. The
overnight was short. We had dinner about 2 hours after takeoff but, it was
already 3AM at our destination. I dozed as I could but we were already
approaching the coast of Portugal. We were eating breakfast and it was time to
land. There is a 7 hour time difference between Bogota and Madrid.
Entering the old city of Bordeaux under the Great Clock We landed in Madrid almost an hour ahead of schedule and worked our way
through Immigration and Customs and got to the Hertz rental car counter about
30 mins before we scheduled our pickup. At the rental counter they wanted us to
upgrade to a BMW diesel for about EU540. I said no. After seeing the
difference between diesel and gas it would have taken us about 60,000 miles to
break even. They gave us a BMW 118i anyway instead of the VW T-cross or similar
I reserved.
Market in Barcelona Barcelona
We got our car and the first stop was Barcelona so, we hit the road
running. We had our destinations and lodging to Germany booked before we got to
Europe so we knew where we were headed. We used Waze and it has worked well everyplace
we've been. So, we inserted our hotel information and drove the 6+ hours to the
Barcelona suburb of Sant Cugat. When we were in Spain in 2019 we stayed at the
AC Hotel in Sant Cugat and we booked it again. The hotel is right next to the
train station to go into the City and the suburb is delightful. It had another
name but it is the home of famous entertainer Xavier Cugat so they changed the
name. The drive was a struggle after the overnight flight.
Joseph, Mary and Jesus, the Holy FamilyViews of the Basilica de la Familia Sagrada by Antonio Gaudi
The last trip to Barcelona we missed going inside the famous Gaudi work, the
Basilica of the Sagrada Familia. This time we booked tickets far in advance so
we could get in. It was even more incredible than we expected. We did the audio
tour and spent most of the morning admiring and enjoying the design and
construction of this most ornate religious masterpiece. Truly a wonder of the
world.
The wall built by the Romans incorporated into the Barcelona Cathedral
After our time at the Basilica we walked to the Public Market for lunch at
the same stand where we had lunch 6 years ago. The market is incredible and a
highlight of any trip to Barcelona. We bought a hunk of Manchego Cheese to
enjoy later. We then walked to the Chocolate Museum to buy some chocolate. On
our last trip we found some incredible chocolate there and again it didn't
disappoint. We walked back to an ice cream store we passed on the way and sat
down to enjoy some fantastic ice cream and make our plans for dinner. We
decided for dinner we would just pick up some bread and a bottle of wine and
then have the cheese, bread, wine and chocolate for the evening since we had a
lot for lunch. We were still on jet lag so relaxing was the order of the day.
Cathedral Plaza in Barcelona
Nimes
Barcelona is a place where there is so much to see and do but we were on a
mission. After our second night we headed north to France. Our first stop
was the ancient city of Nimes. Nimes was one of the original Roman cities where
we spent one night. Waze took us right to our hotel, but, we couldn't tell it
was our hotel so 20 minutes later after driving around again we came back to
the same spot and pulled over far enough out of traffic that we could stop. The
area where our hotel was situated was full of honeycombed narrow streets that were
difficult to drive. Many were blocked off. So, when we stopped, Linda walked
around the building and found the entrance to the hotel in the back where we
couldn't drive. The clerk dropped the barricade and let us drive in to unload
and then we moved our car to a public garage. Somehow they did not have our
request for a parking spot and none now were available.
The Nimes Arena
After unloading and parking the car we began our sightseeing. First stop was
the Arena. The Arena is reputed to be one of the best preserved Roman
Coliseums. Even though it was the scene of gladiatorial contests and other public events over the
millennia it is still used for public events. After visiting the Arena we
walked around to buy some croissants and other groceries now that we were in
France. For dinner we went to dinner at a place just a block from the hotel, Le
Caboulot de La Serendipity. A very nice vegetarian restaurant where we had a
new experience. The food and wine were great but when we went to pay the credit
card service required a PIN. We don't have PINs for any of our credit cards.
Apparently in Europe that's typical. So, I paid with cash.
Inside the Arena Fountain in the Park Inside our restaurant
We only planned one night in Nimes and the next morning we had an
appointment for a wine tasting at Domaine d' Poulvarel that was 30-45 mins from
the hotel. The winery was out in the country in a beautiful setting. It was a
very small boutique winery but their wines were excellent and not too pricey.
After tasting we bought several bottles. The hostess who was one of the owners
recommended a restaurant down the road and also to visit Le Pont du Gard that
was only 15 mins away, She said it was probably the second or third most
important structure in France so we drove to see it. Le Pont du Gard was a
Roman aqueduct built 2000 years ago to take water to Nimes and it is very well
preserved. After that we found the restaurant she recommended closed so we were
off to Valence. We grabbed a sandwich at one of the rest areas on the
highway.
Scenes at Le Point du Gard
Valence
Our second destination was a 2 night stop in Valence on the Rhone River. It was a very short
drive after leaving the Nimes area and again we had trouble finding our lodging
but for a totally different reason. Waze got us right there but we didn't know
what we were looking for. Turns out our lodging was in an old French farmhouse
in the country. It had a sign but we missed it so we asked a woman walking to
her mailbox and she knew exactly what we were looking for. It was just in back
of their house.
I Love Valance
The lodge, L'Oazis d' Malissard, was located on a small back road with
fields all around. When we got out of the car the smell of Jasmine was enchanting. It was ideal. Too bad it was only 2 nights. The owner helped us up to
our room. He actually gave us a choice. He had 2 rooms and we were his only
guests. He talked with us quite awhile and offered many suggestions about
places to go and things to do. The room was modest but comfortable and on both
mornings he brought us a beautiful breakfast of breads, cheeses, fruits, juices
and tea/coffee.
Some Valance Street Scenes
Our first order of business was another wine tasting at Domaine Chaboud
Cellier in Saint Peray across the Rhone River in the Ardeche region. The
tasting was brief and we bought 1 bottle for our collection. Then we drove into
downtown Valence where we walked around admiring the ancient buildings and had
dinner and then drove back to our farmhouse.
The view outside our Farmhouse There was always a smiling face and wagging tail when we arrived.
Sunday morning our host had advised us that there was a Market in the town
of Romans. By the time we got out it was late but we got there in time to enjoy
the town, the market and some refreshment. We then drove over to the town of
Tain-l'Hermitage where there was a large chocolatiere, Chocolate City. We
bought some chocolate there and then walked along the banks of the Rhone until
it looked like rain was imminent. We got back to the car as it began to pour.
Not content with what we had done so far we drove to Maison M Chapoutier that
was a bodega in the same town. Linda had tried to book a tasting but none was available
on Sunday. We found out they don't book reservations on Sunday but they gladly
offered us one. I think we tasted 5 wines and we bought several more bottles.
The wines were excellent. The best one that was incredible was way out of our price
range. If we had the way to keep it properly we would have considered it but
with traveling and living in the tropics it would be a waste of money.

Our host had recommended a place for us for dinner that we hadn't tried but we went
there on our second night. The Café de la Poste à Chabeuil was in
the small town of Chabeuil. We just split a pizza and a salad but it was very tasty and I
had a nice local wine. The price was very reasonable and the service was great.
Definitely would go back again. After our wonderful dinner we headed home for
the night.
The Rhone Riverfront in Tain l'hermitage
In the morning our host helped us with our bags and couldn't have been more
helpful as we bid adieu to Valance and headed to Colmar.
The wonderful little Cafe in Chabeuil
Colmar
The drive from the Valence area to Colmar was our longest in France up to that point, although, the
drive from Madrid to Barcelona was longer. We had a small apartment booked just
outside of the tourist area. Waze took us to the property and we were able to
get into the parking lot. In these old towns if you have a car, parking is
crucial. This property had its own very ample lot. Many places have no parking.
The market in Colmar that was a lot for tourists but locals came there too. The drive to Colmar was also very costly for tolls. We had some tolls in
Spain that weren't much but the tolls to Colmar were about EU55 which is about
US$62. Once in Colmar we could walk to and around the old section. The first
night we were tired and the jet lag was still catching us so we opened a bottle
of wine and ate some food we had and went to bed early.
The Little Venice section of Colmar. The large building above is the Market.
The next morning we planned to go to a local place for breakfast but we
found out it was closed. So we just walked into the old town. On our way we
found the market that had several restaurants and decided on one for brunch
that was excellent. Linda had a salmon quiche and I had a German plate of
sauerkraut and sausages. We were in Alsace which for much of its life was
German and lots of German influence.
Street scenes in the historic section of Colmar
We then walked on to the area known as "Little Venice." So-called
because of the canals that flow through it. The old-town is full of
restaurants, cafes and nice shops. There are some touristy places but we avoid
them. After our sightseeing we went back to our room to refresh and make dinner
reservations. We then walked to the Karcher winery for a tasting. We got there
as a large group of Scandinavian tasters were leaving but the Sommelier invited
us in and helped us taste several Riesling wines. Alsace is known for its
Rieslings. They were excellent and we had to buy several bottles because we enjoy Rieslings. The host was
very friendly and we visited with him for over a half-hour as we enjoyed his great wines.
The Karcher Winery in Colmar where we tasted some excellent RieslingsAn antique wine press
An antique Schrank in the winery
Our dinner at Bistro des Lavandieres, literally Bistro of the Laundress, was
less than spectacular. So we left Colmar underwhelmed with the food but
overwhelmed by the town. The restaurants we wanted to hit were closed so maybe
next time would be better.
The obligatory selfie in Little Venice In the morning we left for the main event. To meet our new Granddaughter in
Esslingen, Germany.
Germany
Our drive from Colmar to Esslingen was about 3 hours. We had originally thought about
stopping in Strasbourg on the way, but decided against it with luggage visible
in the car. We don't like to park in public with our bags visible and we also
had wine cases that were visible. So, we drove on to my son's home in Esslingen.
Esslingen is a small city just outside Stuttgart, Germany.
Beautiful Emma asleep in her carrier
One of my sons moved to Germany in 2021 because he was unable to get a US visa
for his Vietnamese fiance to come to the US. Once he moved to Germany and got
his resident status he could get her to stay in Germany and they married. Now
they have a daughter who was the main reason we came to visit. Our road trip through
Spain and France was just an add-on bonus.
Who's this guy? Where's Mommy?
We met our new granddaughter and she is beautiful. It has been years since I
held a baby so small. Actually, none of my children were ever that small. By
the time I saw most of my other grandchildren they were bigger. What a time to
meet her and bond with her. She is so precious.
We walked over to Esslinger Burg which was a medieval castle a few blocks from their home that offered incredible views of the town. Somebody wasn't happy.
The old Town Hall where they were married.
Inside the Fort
The Moat and Parapets
Besides visiting and enjoying our new granddaughter we did a trip to
Strasbourg to make up for not stopping on the way and then drove on to Frankfurt so
my son, his wife and daughter could visit the US and Vietnamese Consulates to
request passports and birth certificates. Our little girl will have resident
status in 3 countries and also grow up with 3 languages.
The French Canal in Strasbourg The Strasbourg Cathedral of Notre DameThe Historical Museum of StrasbourgAnother view further up the Canal Closeups of the detail on the CathedralThe Biergarten where we enjoy dinner in Frankfurt
While in Germany we did several local sightseeing trips with the baby.
Details in the pictures.
The Church of Our Lady in Esslingen didn't really have a convenient front.Vineyards and terraced hillsides everywhereThe clock tower in the old Town Hall with it's figurines that perform on the hour The Old Town HallPlaza of St Dionys Esslingen BurgThe Rossneckerkanal and L'Osteria Restaurant
The Wehrmecharkanal
We spent two weeks playing with Emma and providing some free time for her
parents. We could see huge changes in her in just the short time we were
there. We also did some shopping and prepared some meals for them. The
time went by quickly and then we had to bid our farewells. Don't know when we
will see them again. Hopefully, it won't be another 4 years.
 Who woke me up to take this picture?
Chalon sur Saone
After saying our goodbyes and wishing we could take Emma with us we drove to
Chalon sur Saone. A medieval town on the Saone River. Chalon was a beautiful
town with a beautiful riverport. We did a walkabout and sampled some chocolate
and had dinner and went to bed early. The next morning we got packed up for the
drive to Bordeaux.
The Chalon Waterfront on the Saone River with various canals extending off of it.
Before leaving Chalon, we tried to refuel at a station just a block from the
hotel. The problem was, it was fully automated. On our trip we had credit card
issues. Apparently, all European credit cards have PIN and you can’t use them
without it. I have a PIN for cash advances but I haven’t used it in years and I
don’t know if it would work anyway. In restaurants or gas stations where there
were attendants, I was able to use cash or my ATM debit card. But, it was
annoying. We left this station and on the way out of town there was a Totalfina
station where I could use my credit card successfully. Tolls were another
issue. Most toll booths, which are also fully automated, worked with our credit
card. Sometimes the readers didn’t pick up the chip and we needed to insert
them. But, we always made it work.
Street scenes from ChalonWhere we had dinner in the Place Saint Vincent in front of the Cathedrale Saiint VincentStatue of A Nicephore Niepce from Chalon who invented photgraphy The narrow residential streets
Bordeaux
Bordeaux is known the world over as the one of the major wine regions of
France. Our drive from Chalon was very interesting because there was no direct way between
Chalon sur Saone and Bordeaux so our routing took us down 2 lane highways
through lots of little towns. My mind tried to capture what life was like in
those small towns and what it was like to fight through each of those little
hamlets in WW2. The scenery was beautiful.
The Clock Tower entry into the old walled City of Bourdeaux
As we approached Bordeaux it was getting near rush hour and the highways
were jammed. Our last 20 miles took us well over an hour. Our routing app,
Waze, took us down all kinds of streets and eventually taking us over the River Garone and into ancient Bordeaux. We picked our way and finally found our hotel
in the heart of the historic neighborhood.
The Cathedral of Saint Andre de Bourdeaux from the 11th Century. Next to it is a stand-alone bell tower Tour Pey Berland
When we checked in our hostess mentioned that Thursday, the next day, was a
holiday and we should visit St Emilion. After checking in we went out to find
an early dinner and then did a walkabout. Most places in Europe dinner isn’t
until very late. Most places don’t start dinner until 2000, 8pm. On our driving
days we usually have a light breakfast, small lunch and by 1800, 6pm we’re
pretty hungry. The European solution that we adopted on several days was to
have some hors d’oeuvres and a bottle of wine. Usually, after that we’re
checked out for the night. But, this evening we found a nice restaurant that
began serving at 6 after which we did a walk around the neighborhood.
Looking up at St Emilion The Medieval Watch TowerView looking up at the Watch Tower Above: Le Tetre de la Cadene
Wine Caves of Maisson GaulhaudLunch at St Emilion in the Jardin with lunch cooked over a wood fire.The next day we drove to St Emilion which is a medieval town about 30 miles
from Bordeaux and just a world away from everything. St Emilion is touristy but is the heart of the Bordeaux region and typifies Bordeaux. As is our usual we got out
late and by the time we got to St Emilion most of the free parking spaces were taken.
After circling the town we found a car leaving in a parking lot in the middle
of town. We tried to pay for the parking, but found out that since it was a
holiday it was FREE.
The underground Monolithic Church in St Emilion that is all underground. Strolling around the town each view was more beautiful than the last. We
found a store with duck confit that we had been searching for. We visited a
wine cave and tasted some wines. Then we had a very late lunch that was
incredible at Julie’s Garden. (Jardin de Julia). Our meals were grilled over a wood-fire and tasted incredible.
The plaza around the Cathedral
The Hotel DeVille on the plaza
After driving back to town in the remaining hours of day light we did a few
more rounds of walking. In the tropics, sunset comes early. In these higher latitudes it is much later giving us almost a second day.
Porte d'Aquitaine
Porte de Bourgogne
Next morning we loaded up and drove to our final stop, the Rioja region of
Spain.
Going through the Pyrenees to Logrono
Logrono
Our drive took us back through the Pyrenees but on the western side this
time by Bayonne France. The mountains, as they usually do, caused clouds, rain
and fog. The scenery was spectacular. I’m not sure we got great pictures
because it was highway driving. But, soon we were back in Spain and into the
Rioja region.
Our first experience in Logrono. Trying some wines at the Franco Espanolas Winery. Logrono is the capital of the Rioja province in Spain. It is famous
for its Rioja, Tempranillo and Garnache grapes and wines of the same name.
Logrono was typical of many of the towns and cities we found in Europe. Unlike
the US there are few suburbs. It’s open country and then urbanization with mid to
high-rise buildings.
We arrived at our apartment
complex and fortunately, our host was there to let us in the garage and up to
our apartment because getting in and out was not intuitive. The accommodation was beautiful and well thought-out. It was probably
the most comfortable rental unit we had on our trip. After getting settled we
walked to a neighborhood cafe and the food was excellent.
The Logrono Skyline from across the river. Street signs with the Camino in the background.
Looking upstream
The next day, Saturday, was the only day we didn’t have anything scheduled,
so we slept late and then visited the Franco-Espanolas Winery that was in town but on the other side of the Ebro River that flowed along the town. A
long-established winery founded by some French vintners in the late 19th
century when the French grape vines were destroyed by parasites. However,
instead of returning to France, they stayed in Logrono. We were unable to get an
English speaking tour on Saturday so we just visited the winery, had a few
glasses of wine and bought a few bottles to bring back.
Looking out over the Rioja countryside from Laguardia
Then we drove out to another medieval town, Lagurdia. Laguardia is an
excellent example of a medieval town with it’s walls and ancient churches intact. It also had many wineries that were unfortunately closed when we got
there. After some walking around we had lunch and headed back to our apartment.
We parked outside the town and walked to the southern side. This memorial noted that this gate (there were 5 gates into the walled city) was denoted as the Gate to the Jewish Quarter. The jews that lived in Laguardia up until the Inquisition were forced to live in the areas inside this gate. After the Jews were forced out the Quarter sat vacant for many years.
Looking into the Quarter
Looking out the Gate today.
The next day, Sunday, we had big plans. We had scheduled a lunch at a
boutique restaurant called, Sabores, (Flavors), for 1345 and before that we
walked around the downtown. Logrono is a principal town along the Camino de
Santiago de Campostialle. The Camino is an ancient pilgrimage that starts at
several points but goes through the north of Spain to Campostila. One of the
major tracks of the Camino goes through Logrono. We saw it at several points in
town.
The Rear Wall of the fortification. This was one of the Watch Towers of Laguardia.Two of the other gates. The one above is the Bell tower. Outside the Wall
Soon it was time for lunch and we went to Sabores ( Sabores ) and were the first for
their 1345 seating. I don’t know everything we ate and the courses were not as
listed on their website. But, when we were finished I absolutely could not eat another
bite. In fact they served two sweet morsels for a final dessert and I didn't eat them I was so full. All the food was excellent and the wines we had with it were spectacular.
We keep having unbelievable food and spectacular wine that is far better than
the last great food and wine. We need a break.
The narrow streets of the old city were barely wide enough to take a cart through. I found many of the doors very interesting.
But, our next appointment was at the bodega of Marques de Riscal for a tour
and tasting. The tour of the winery was one one of the best we’ve had and the
wines were of course spectacular and out of our price range, The tapas we
enjoyed were exquisite and complemented the wine very well. As we were the last
tour of the day they moved us along so we bought a few bottles and headed for
our hooch.
Scenes from Logrono. The statue is of Gen Espartero de Logrono.
Catedral de Santa Maria de Redonodo
Iglesia de Santiago el RealEffestrations on the Catedral Redondo
University of Logrono
Monday, our final day, we had one thing on the agenda and that was a tour
and tasting at the bodega of Campo Viejo. In our month in Europe we only had a few
rainy days and none that dented our plans. In Germany we had several rainy days but we weren’t going anywhere so it
didn’t matter. Now, our last days and we were having rain. It rained as we
drove out to the bodega Campo Viejo. In spite of the rain the scenery was beautiful as far as we could see.
Sabores, our wonderful lunch in Logrono. It's too bad we didn't take pictures of the 16 courses they served.
Our first order of business, however, was to pick up some bubble wrap so we
could fill out our suitcases. With all the wine we had in it, it was important that nothing moved during
transit. We found a Mail-Boxes Etc. in town where we bought what we needed and
then headed out to the bodega.
The Hotel at Marques de Riscal is extremely unique and it is run by Marriot. A unique design with the multi colors. Absolutely exquisite.
The vineyards at Marques de Riscal looking at the town of Elciego.
The old winery buildings from 1858. The fermentation tanks.The aging room. The barrel cellars.
Campo Viejo is the largest producer of Rioja and Tempranillo wines in Spain
and thus the world. They export virtually everywhere. We’ve been drinking their wines
for years. So, it was a treat to finally see the winery.
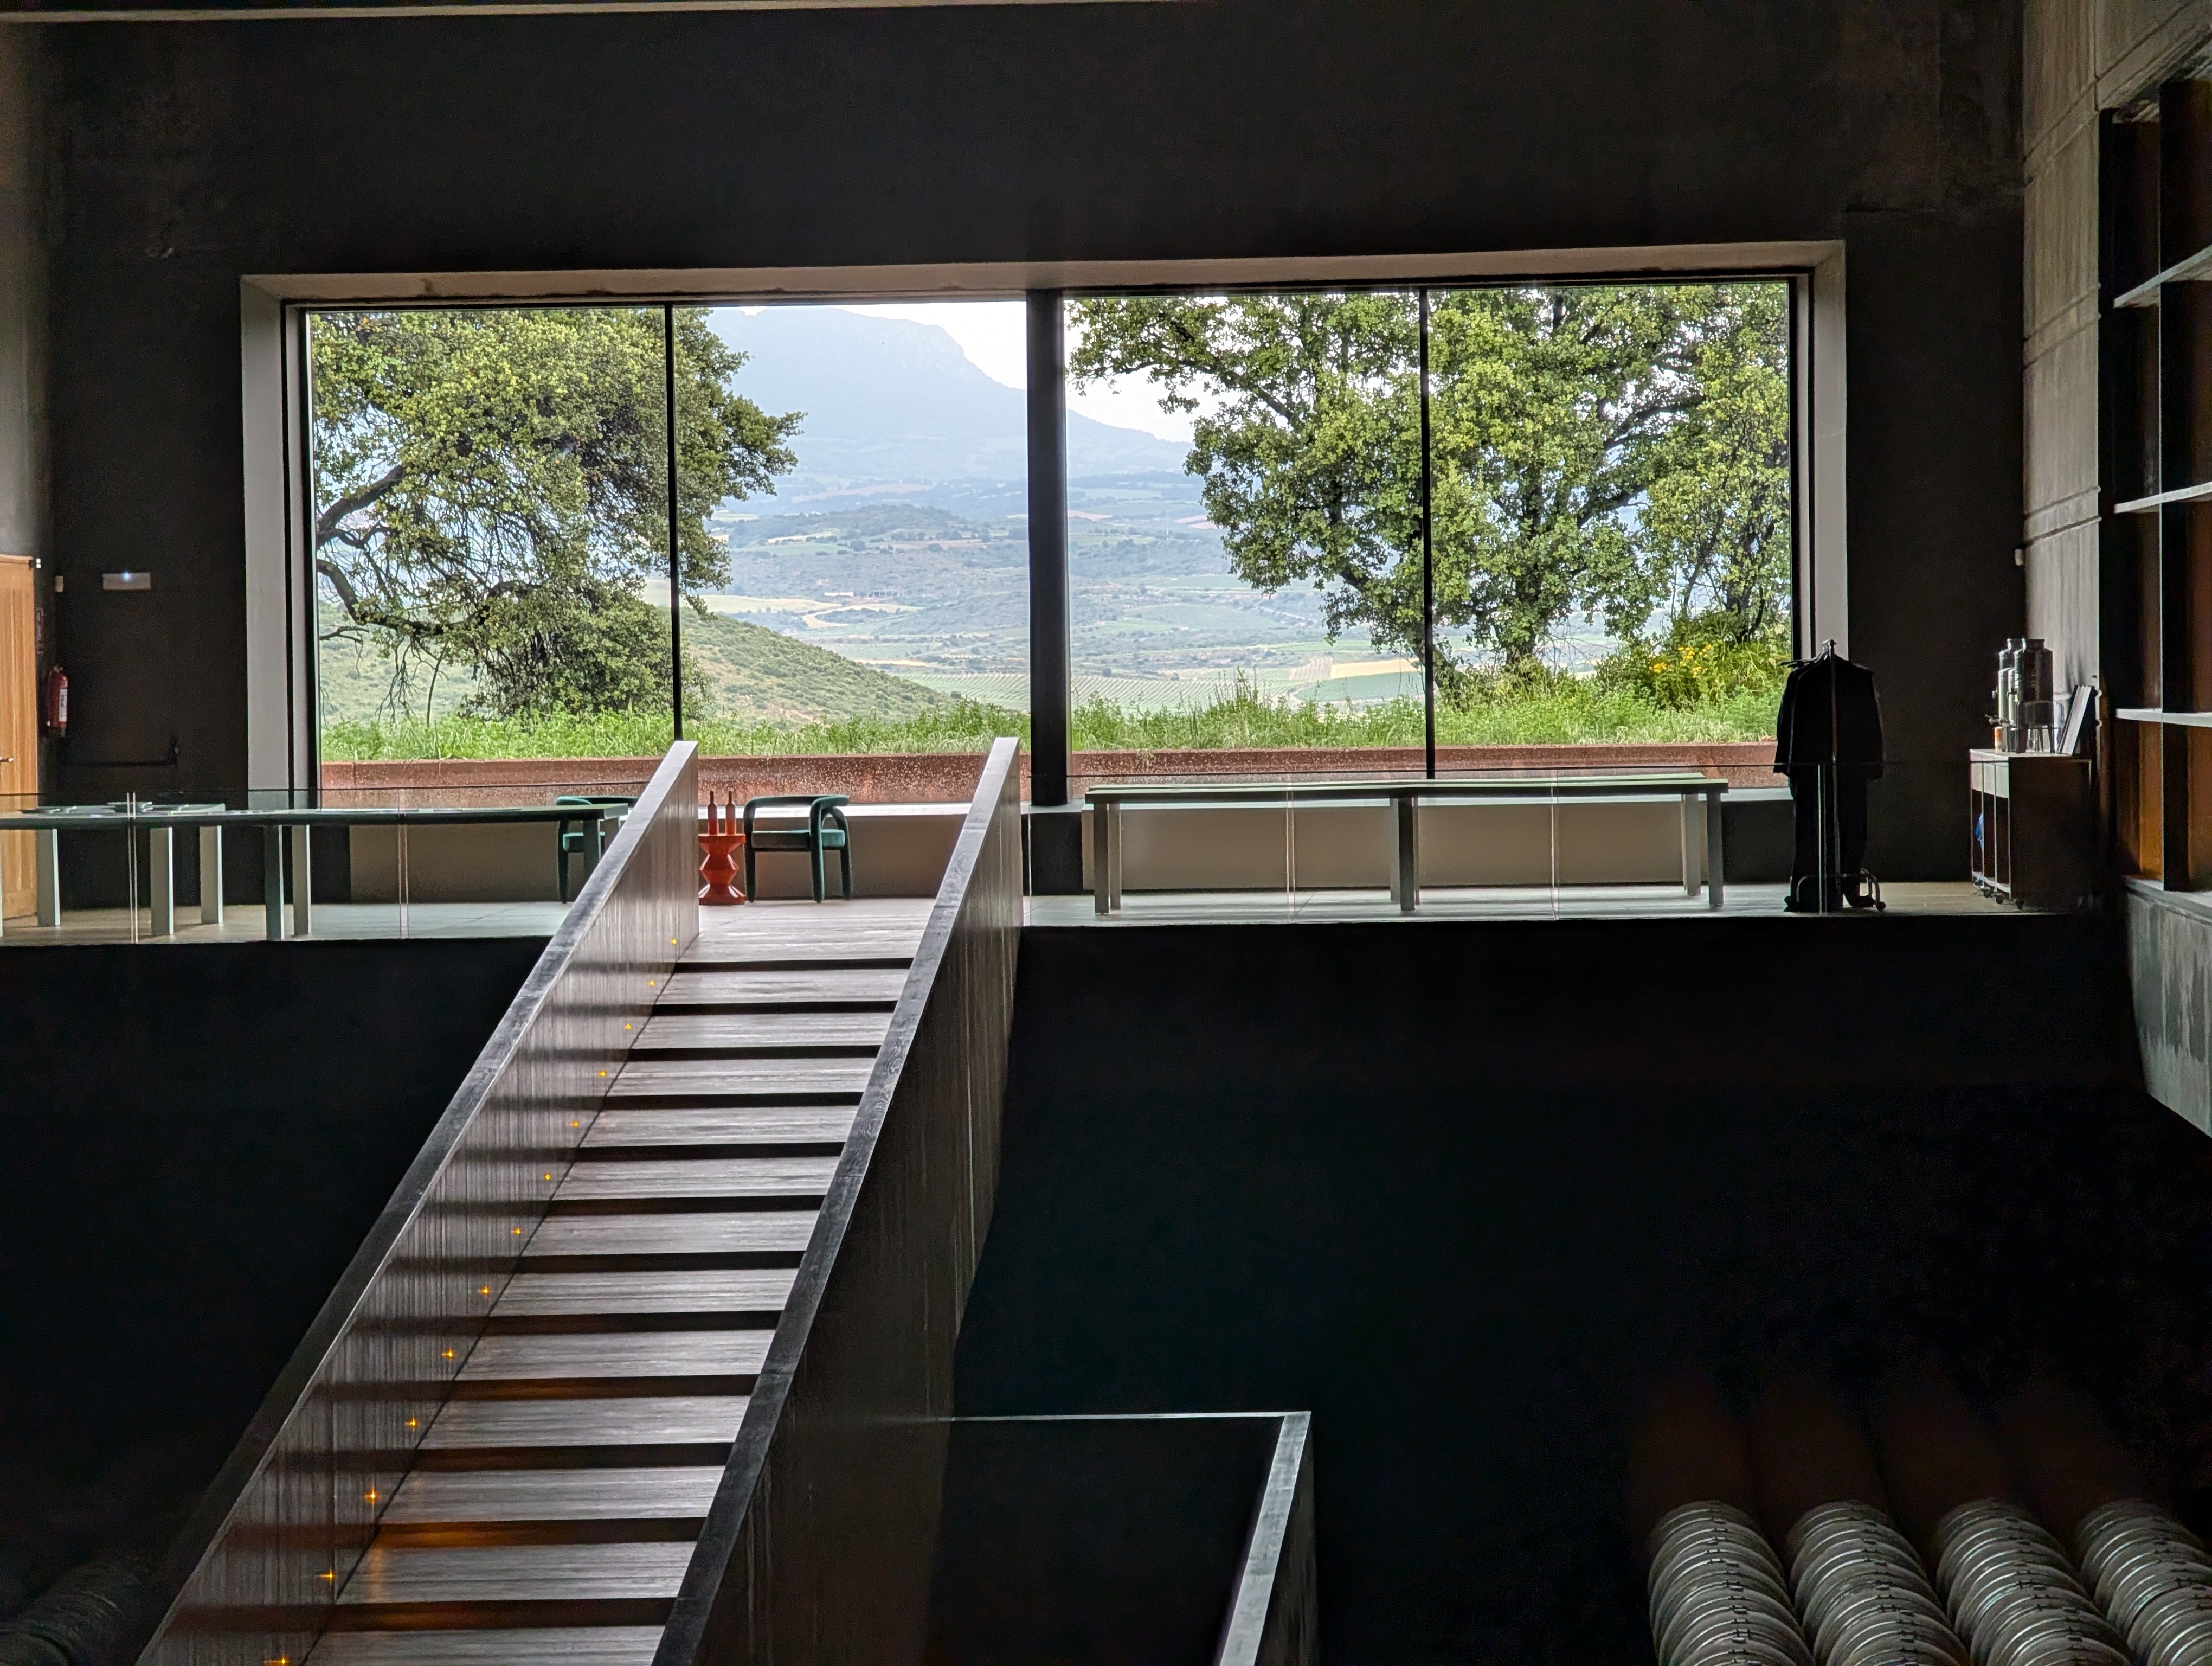
It was a rainy day when we visited but the scenery was nice, The front of the bodega
The fermenting roomThe barrel aging room. An automated shade opens to the outside of the barrel aging room.
Campo Viejo, translated means old country which is ironic since it isn't that old, owns or controls numerous vineyards throughout the Rioja regions. Many of
them are contract growers that produce grapes based on the specifications of
CV. However, all of the grapes are brought to the bodega outside Logrono where
they are processed into wine. We had an excellent tour and a guide who was
originally from Argentina and was excited when we told her we had just been
there.
Our tasting with our hostess at Campo Viejo serving up another tasting. Our hostess from Argentina and was so excited when we told her we were just there and about our experiences.
When we left it was the end of our trip. Just one night and then back to
Madrid for our return flight.
Heading home
The first half of the trip from Logrono was down a 2 lane road that went through some spectacular scenery dotted with small towns, rock edifices sticking through lush green foliage. What a beautiful passage to end our wonderful travel. Eventually we got on the Autopista that took us back to Madrid.
Typical of the scenery on the first half of our drive back to Madrid. After we checked into our hotel we returned our rental car to the airport to avoid the need to do it before our flight. Which is a good thing because we drove around for a long time looking for the rental car turn-in. That way, in the morning we could just take the airport shuttle right to the terminal door. That night we repacked our bags with all the wine securely stowed and getting the bags to be less than the weight limit. When we checked in for our flight they were well below the limit so we could have bought at least 3 more bottles of wine..
The night at the hotel was quiet and uneventful and the next morning we boarded our plane and flew back to Cartagena. Our magical trip completed.
We got back to our boat home after having been gone a month. The trips to and from Germany were filled with history, beauty and wine. The two weeks with my son were wonderful. I hadn't seen my son in 4 years, I had never met his wife and of course I had never met Emma. We had fun. Hopefully, next time we see her she'll remember us.
We returned with 19 bottles of wine. I hope we can drink them all while they're still good which may be a challenge in this hot climate. Our 4th European trip is in the books. Now for our next trip. Back to the States in 3 weeks.


.jpg)